


Categories: Third Eye: Practical Meditation
May the blessings of the Triple Gem be with you all!
Today, I wish to offer a clarification on our ‘Let’s Begin: Third Eye – Practical Meditation (Part 01)‘ program. We have received feedback from many of you, through emails and messages, that the practical steps of this Third Eye Meditation are not entirely clear.
Some have found it difficult to grasp how to begin the practice. I have touched upon these points in the middle or at the end of other talks, but I felt it was important to create a dedicated teaching on this topic. My hope is to explain this meditation method in a way that is simple and accessible to everyone, regardless of age, so that you can begin your spiritual journey with confidence.
This article is for all who have asked for more clarity, providing a fresh and detailed explanation of that very first program.
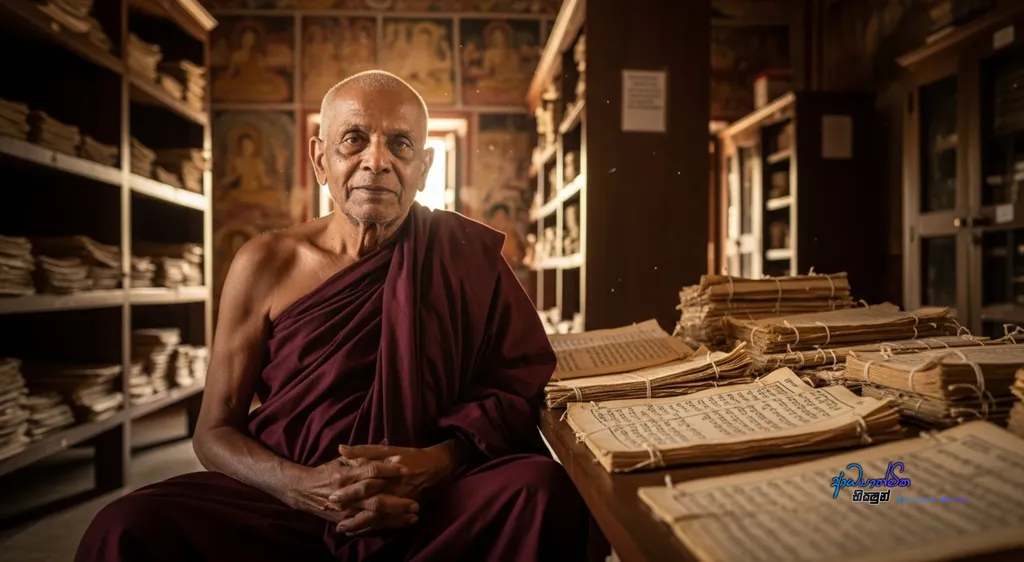
Preparing Your Space and Body for Meditation
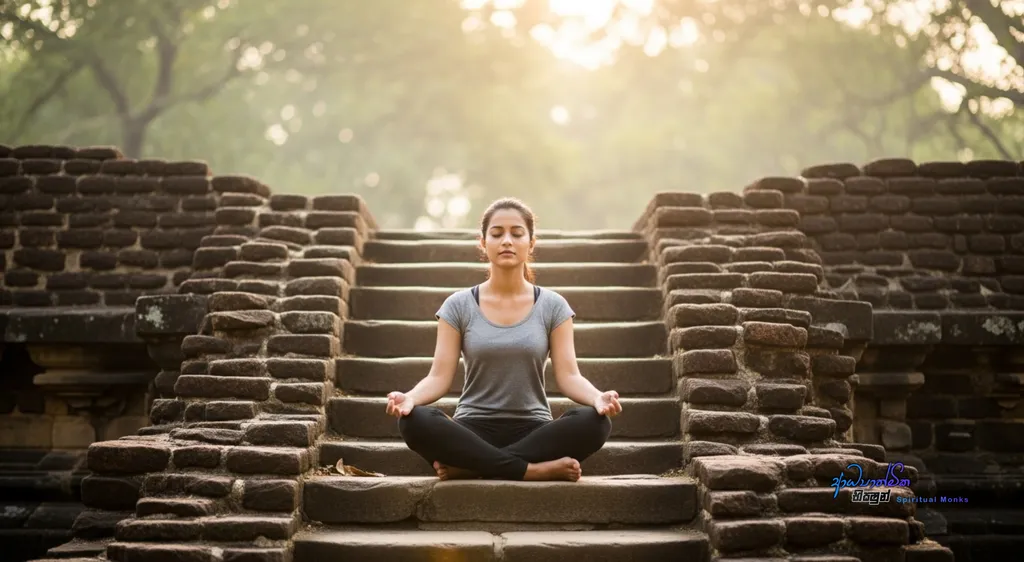
The first step in any spiritual life is to begin. In our Third Eye Meditation series, we start with the simple act of sitting for meditation. There are several traditional postures you can use. You might choose the full Lotus Pose, known in yoga as Padmasana. Or you might sit with your legs crossed in a simpler way, which we call Baddha Pariyankayana or ‘tying the legs together‘. The choice is yours.
If you are experienced with practices like yoga, the Lotus Pose may come naturally. For others, a simpler cross-legged position is perfectly fine. These postures become comfortable over time with practice, so do not worry if you cannot hold them for long at first. The posture is not the most important thing.
To begin, find a quiet spot perhaps in your room, your home, or the space where you normally pay respects to the Buddha. Once you’ve chosen your location, prepare your seat. I often recommend using a thin cushion, about half an inch to an inch thick. When our body has direct contact with a hard floor, nerves can get compressed, leading to numbness and pain more quickly. A cushion helps prevent this.
However, avoid very thick, large cushions as they can also cause discomfort. Ultimately, you must choose what is most comfortable for you; my suggestion is just a guideline. Find a pillow or cushion that allows you to sit with ease.
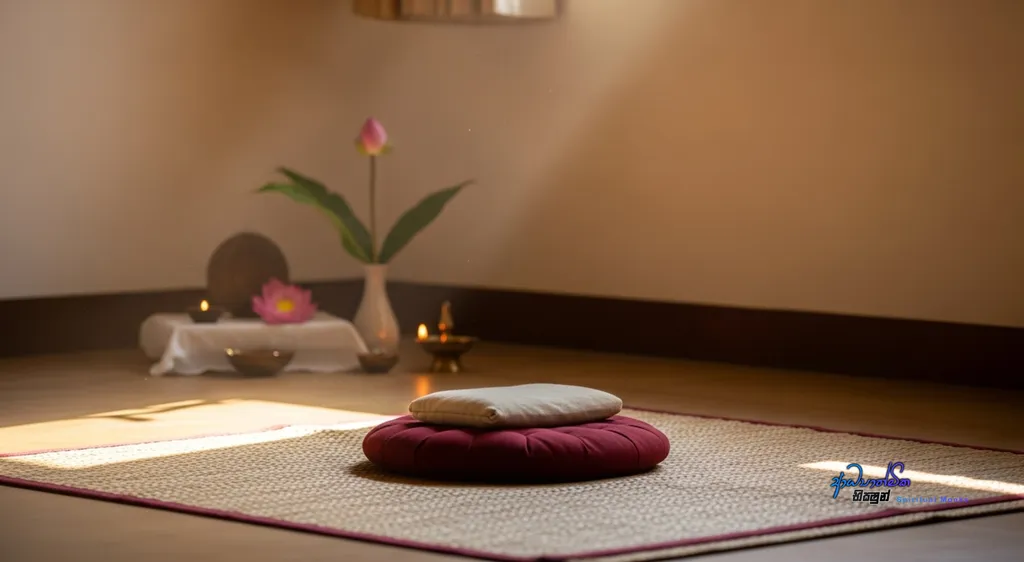
Choosing Your Posture, Attire, and Environment
Once your space is ready, sit in your chosen posture be it Padmasana or another comfortable cross-legged position. If you are unsure what these look like, you can easily find pictures and videos online or in books about yoga and meditation that demonstrate them. I won’t go into detail on the postures here, as the resources are widely available.
Wear simple, loose, and comfortable clothing. The environment also plays a role. A mild climate is ideal, which is why we often suggest meditating in the early morning. Extreme heat can make it very difficult for a beginner to settle the mind and achieve concentration, which in Buddhism we call Samadhi. While a highly advanced practitioner can meditate in any condition, for most of us, a temperate environment is helpful.
Sri Lanka is blessed with a balanced climate, although we see changes happening, which some believe are connected to the unrighteousness of society’s leaders. Still, a mild time of day, like the early morning, is perfect because it is neither too hot nor too cold. I have discussed other factors like diet in previous teachings, so we will focus only on the core practice here.
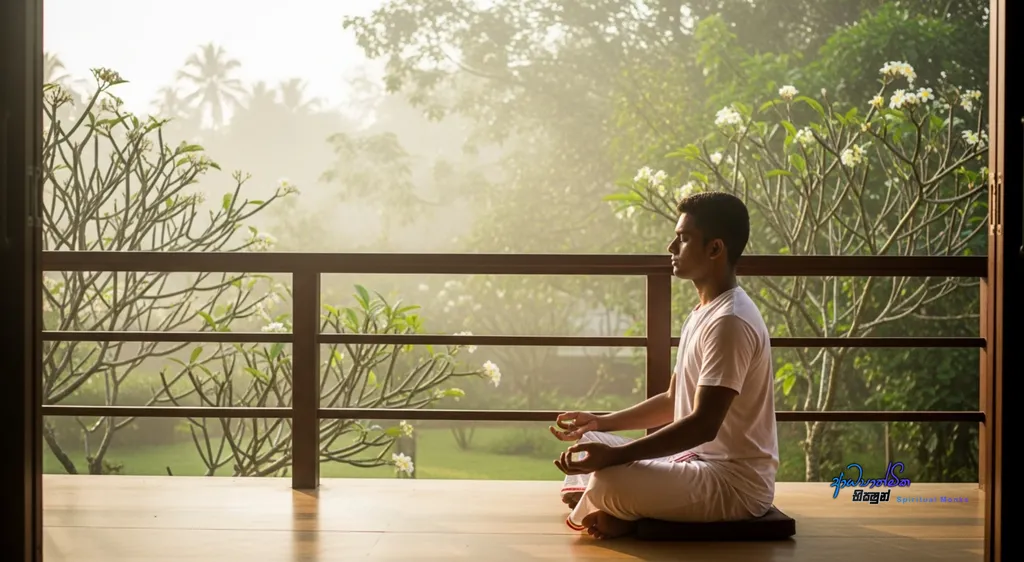
Finding Comfort: Hand Positions and Closing the Eyes
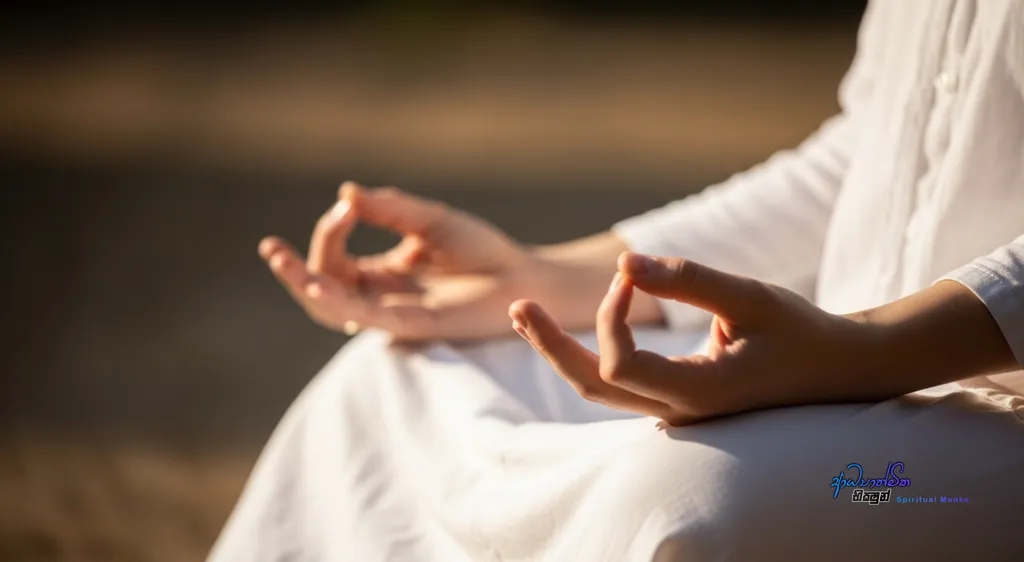
After you have settled into your posture, gently close your eyes. A common question I receive is about hand positions. People send me photos of various hand gestures, known as mudras, asking which one they should use. My answer is this: it does not matter. You can use a mudra if you wish, or you can simply rest your hands together in your lap.
If your hands become uncomfortable during the meditation, you are free to change their position. Some people find it difficult to hold a single mudra for a long time. They may need to bring their hands closer to their body. This is perfectly fine. Don’t make it a problem. You can hold your hands like the traditional Buddha statues in the concentration pose (Samadhi pose), or you can rest them on your knees as seen in other states.
Feel free to switch between them if one becomes uncomfortable. The goal is to calm the mind, not to force the body into a rigid position.
The Core Technique: Focusing with the Mind, Not the Eyes
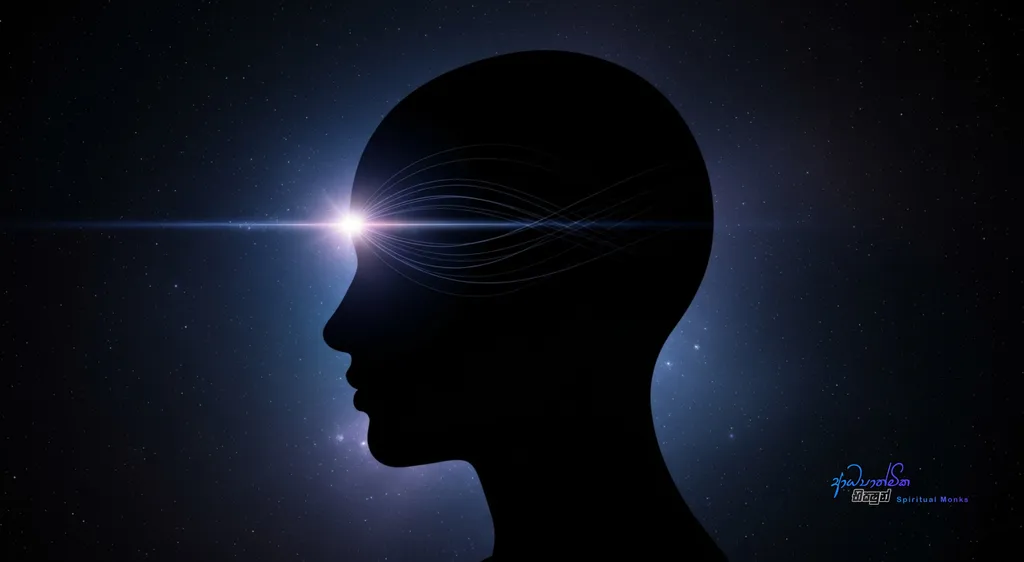
Now we come to the core of the Third Eye Meditation technique. With your eyes closed, you are instructed to focus your attention on the middle of your forehead. This is what we call the ‘target‘. Many people ask, ‘Am I supposed to look at this spot with my physical eyes?‘
This is a critical misunderstanding. If you try to do this, you will strain your eyes by rolling them upwards under your closed eyelids. We do not use the physical senses in this way. Meditation, or Bhavana, means ‘mental development‘. We use the mind to develop the mind, and through that, our senses become refined.
Here is a simple example I have shared with many. Close your eyes right now. Now, think of your right big toe. Notice how your attention, your mind, immediately goes to your right big toe. You did not try to look down at it with your eyes, did you? No. Your mind simply focused there. This is precisely how you should approach this meditation. Close your eyes, and just as you brought your mind to your toe, bring your mind to the middle of your forehead. Your attention will land there.
From that point, you begin to establish your mind and follow the further instructions I have given, such as using the concept of ‘Emptiness‘ (His), which is explained in the second part of the series. We won’t detail those advanced steps here, as they are covered in subsequent teachings.
A Crucial Clarification: Focus on the Spot, Not the Darkness
For some people, focusing on the middle of the forehead feels difficult. If that is the case for you, there is an alternative point: the space right between your two eyebrows. You can choose to focus here instead. The method is exactly the same. You target the spot with your mind, just as we discussed. This is how the practical application of the Third Eye Meditation is done.
Now, a vital clarification. I have given instructions on how to use certain words or thoughts to contemplate once you begin to perceive a sign of light, which we call an aloka sanna, or a mental image at your point of focus.
Until that light or image appears, what should you do? Some people make a mistake here. They close their eyes, see only darkness, and start focusing on that darkness while repeating the word ‘Emptiness’ (His). This method is incorrect and will not work.
The practice of observing ‘Emptiness’ is for those who have already developed their concentration to the point where a light or image appears. They focus on that light and apply the technique. If you only see darkness, your task is different. Your goal is to develop concentration, to unify the mind.
To do this, you must keep bringing your attention back to your chosen spot, either the middle of the forehead or the point between the eyebrows. Continue to practice focusing on that physical location. Let your mind rest there. It will wander; that is its nature.
As I have taught before, simply acknowledge this and gently guide your attention back. Your job is to focus on the spot until a light sign is born. Do not focus on the darkness.
The Path of Practice: Repetition, Patience, and Discovery
So, to be perfectly clear: choose one of the two points the middle of the forehead or between the eyebrows. Persistently and continuously practice focusing your mind there. Over a long period of practice, you will progress. This is the explanation for those who found the first stage of the Third Eye Meditation unclear. This is how you must train.
I don’t think a simpler explanation is needed. If you still find it confusing, it may point to a slight weakness in comprehension, which is okay. The solution is to listen to or read this teaching again and again. But reading alone is not enough. You must apply it, even if you make mistakes. Try to focus on your forehead or between your eyebrows. Then, read the instructions again. Practice for an hour, then read it again.
As you spend time with the practice, you will discover the technique for yourself. The practical method, the system, will become clear through your own experience, and it will become much easier to do.
I trust this clarification is more than sufficient for you to proceed. Please continue your practice in this way.
Blessings for Your Journey
I will conclude this teaching, this clarification on the ‘Third Eye – Practical Meditation (Part 01),’ here. By the power and blessings of the Buddha, the Dhamma, and the Sangha the Triple Gem may you all gain a clear understanding of this Third Eye Meditation method. May you be able to beautifully develop your spiritual life and move forward on the path. May you all be well.
We invite you to walk this path with us. Read our teachings, and most importantly, apply them practically in your own life. as you practice, questions will naturally arise. Please feel free to share your experiences and questions in the comments section below, via email or contact form. I will do my best to offer guidance in future talks based on your progress. For now, begin this practice with an open heart and a mind free from expectation. Cultivate it correctly, and may you find the clarity and peace you seek.
Thank you for joining us. We hope this blog will be of great benefit to your spiritual journey.
May you all be well and happy.
May the blessings of the Triple Gem be with you all!


